Replace or rebuild the failed actuator by testing power, linkages, and swapping the motor or gears.
I have repaired dozens of Jeep door lock actuators over the last decade. I know how to repair jeep door lock actuator problems clearly and safely. This guide walks you from quick diagnosis to a complete repair. You will get step-by-step instructions, tools lists, tips from my shop work, and when to replace rather than fix. Read on to learn practical, tested methods to get your Jeep locks working like new.
Why Jeep door lock actuators fail
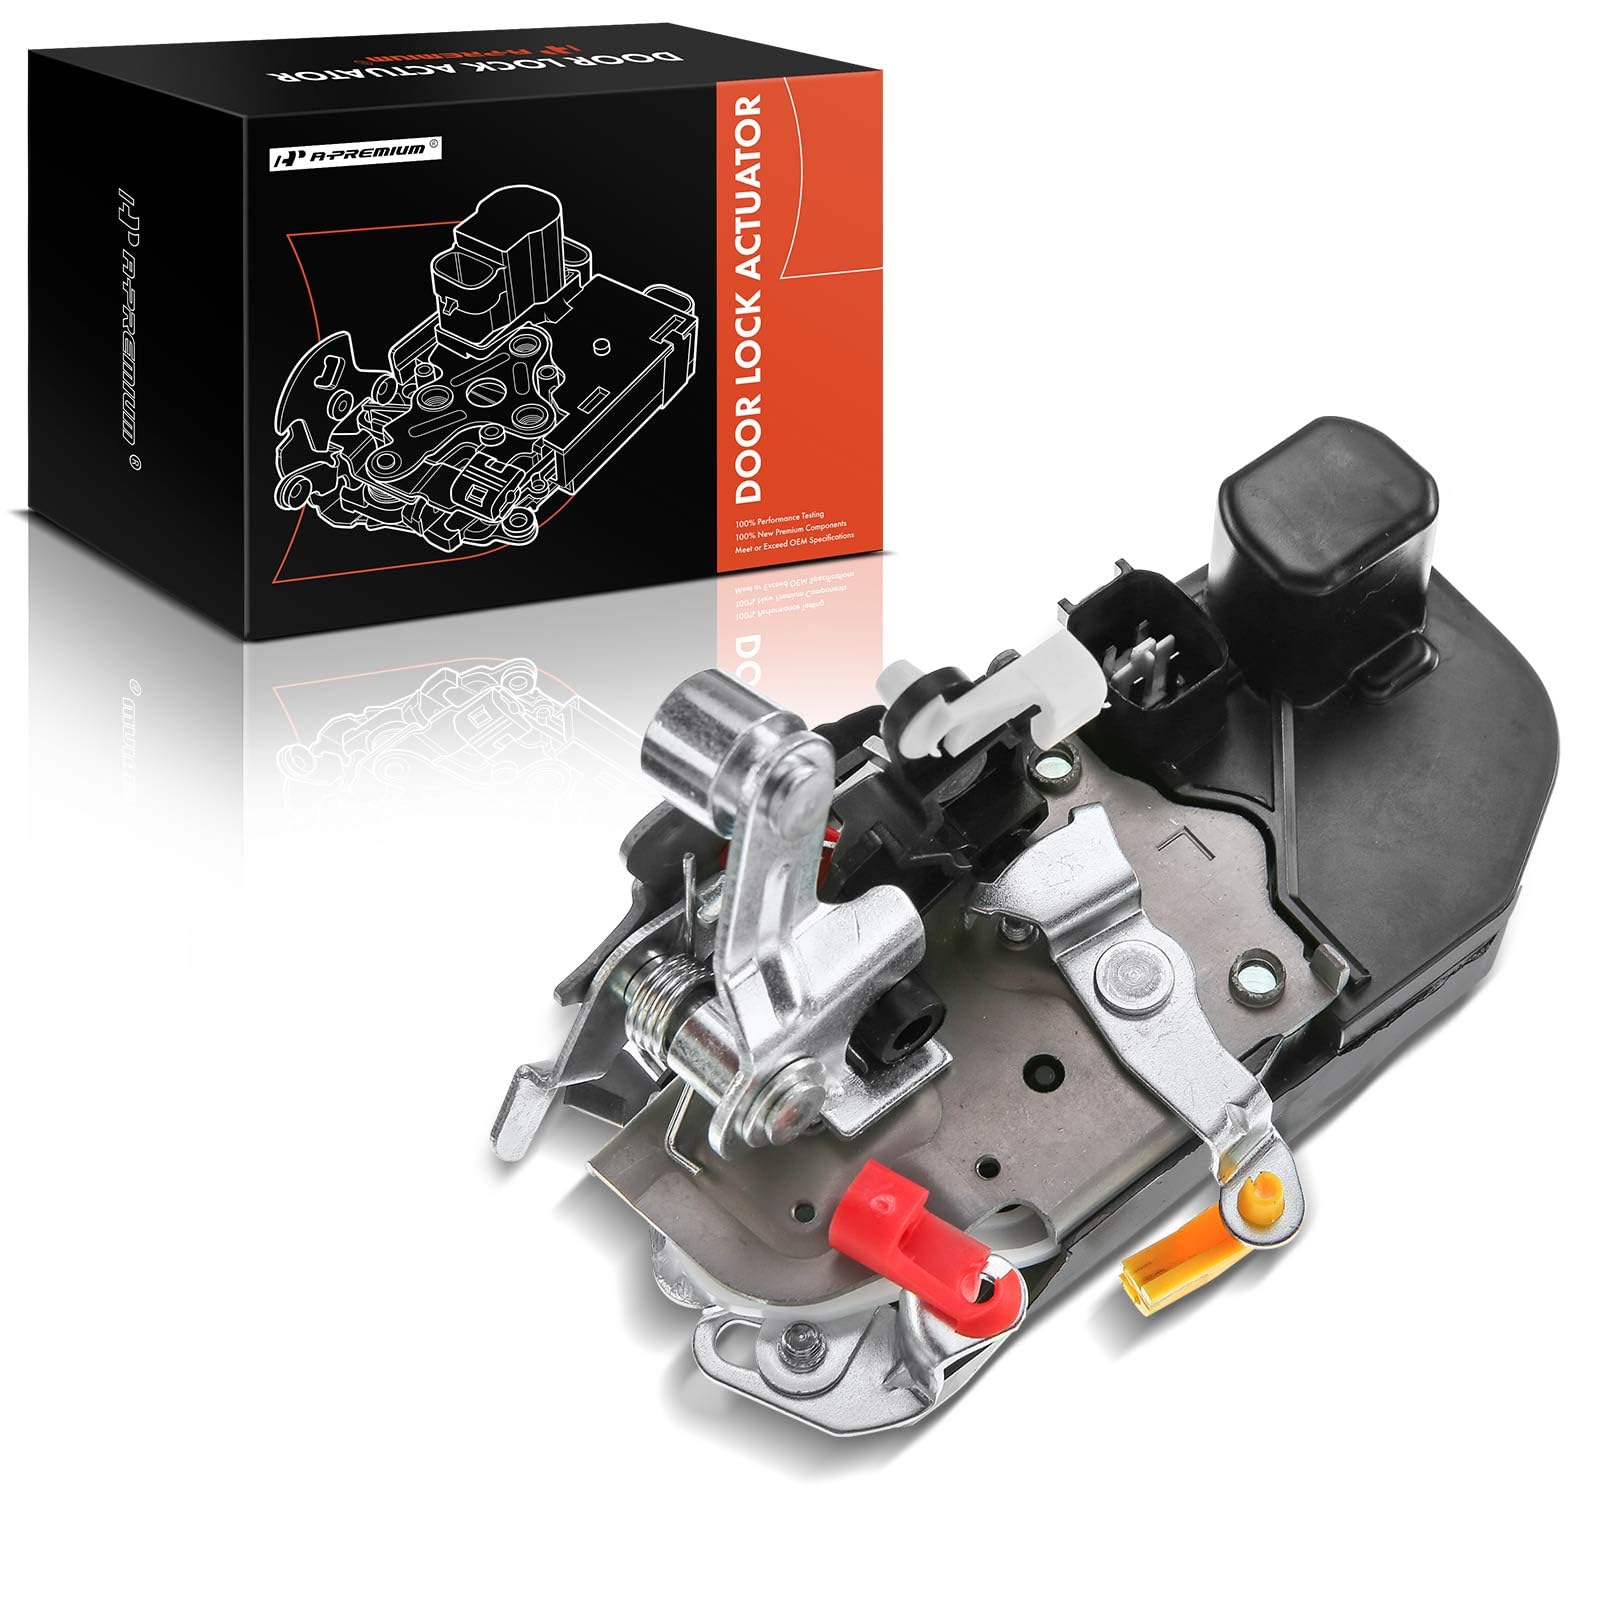
Door lock actuators fail from simple causes. Dirt and corrosion jam gears and rods. Electrical issues like broken wires or bad switches stop power to the motor. Worn motors burn out after years of use. Water entry from seal leaks also ruins the actuator. Age and frequent use speed wear on plastic parts and gears. Knowing why helps decide if you should repair or replace the part.

Tools and parts you will need
Gather the right tools before you start. Working cleanly saves time.
- Screwdrivers: Phillips and flat head for trim and screws.
- Trim tools: Plastic pry tools to avoid damage.
- Ratchet set: 8mm, 10mm, and small sockets.
- Multimeter: For testing power and continuity.
- Needle-nose pliers: For clips and rods.
- Replacement parts: New actuator or rebuild kit, small gears, and grease.
- Electrical tape and shrink tubing: For safe wiring repairs.
- Gloves and safety glasses: For protection.
Step-by-step diagnosis for how to repair jeep door lock actuator
Follow a short checklist to find the root cause. Keep notes as you go.
- Test the lock switch
- Use the key fob and the door switch to see which doors respond.
- If multiple doors fail, check the fuse and central wiring.
- Check fuses and relays
- Locate the fuse box and inspect the door lock fuse.
- Swap the relay with a similar one to test function.
- Listen for the actuator
- Press the lock button and listen inside the door.
- A humming means power reaches the motor. Silence suggests no power.
- Test for power
- Remove the panel and use a multimeter to check for 12V at the actuator connector.
- Test while someone operates the switch.
- Inspect mechanical linkage
- Check rods, clips, and the latch assembly.
- Bent rods or broken clips can mimic actuator failure.
These steps show if you need a full actuator replacement or a simple fix. If the actuator receives power but does not move, you likely need repair or replacement.

How to remove and repair the actuator (detailed guide)
Removing the actuator is careful work. Follow these clear steps.
- Remove the door panel
- Lower the window if possible.
- Pry off trim pieces and remove screws.
- Lift the panel off clips and disconnect electrical connectors.
- Peel back the plastic moisture barrier gently.
- Access the actuator
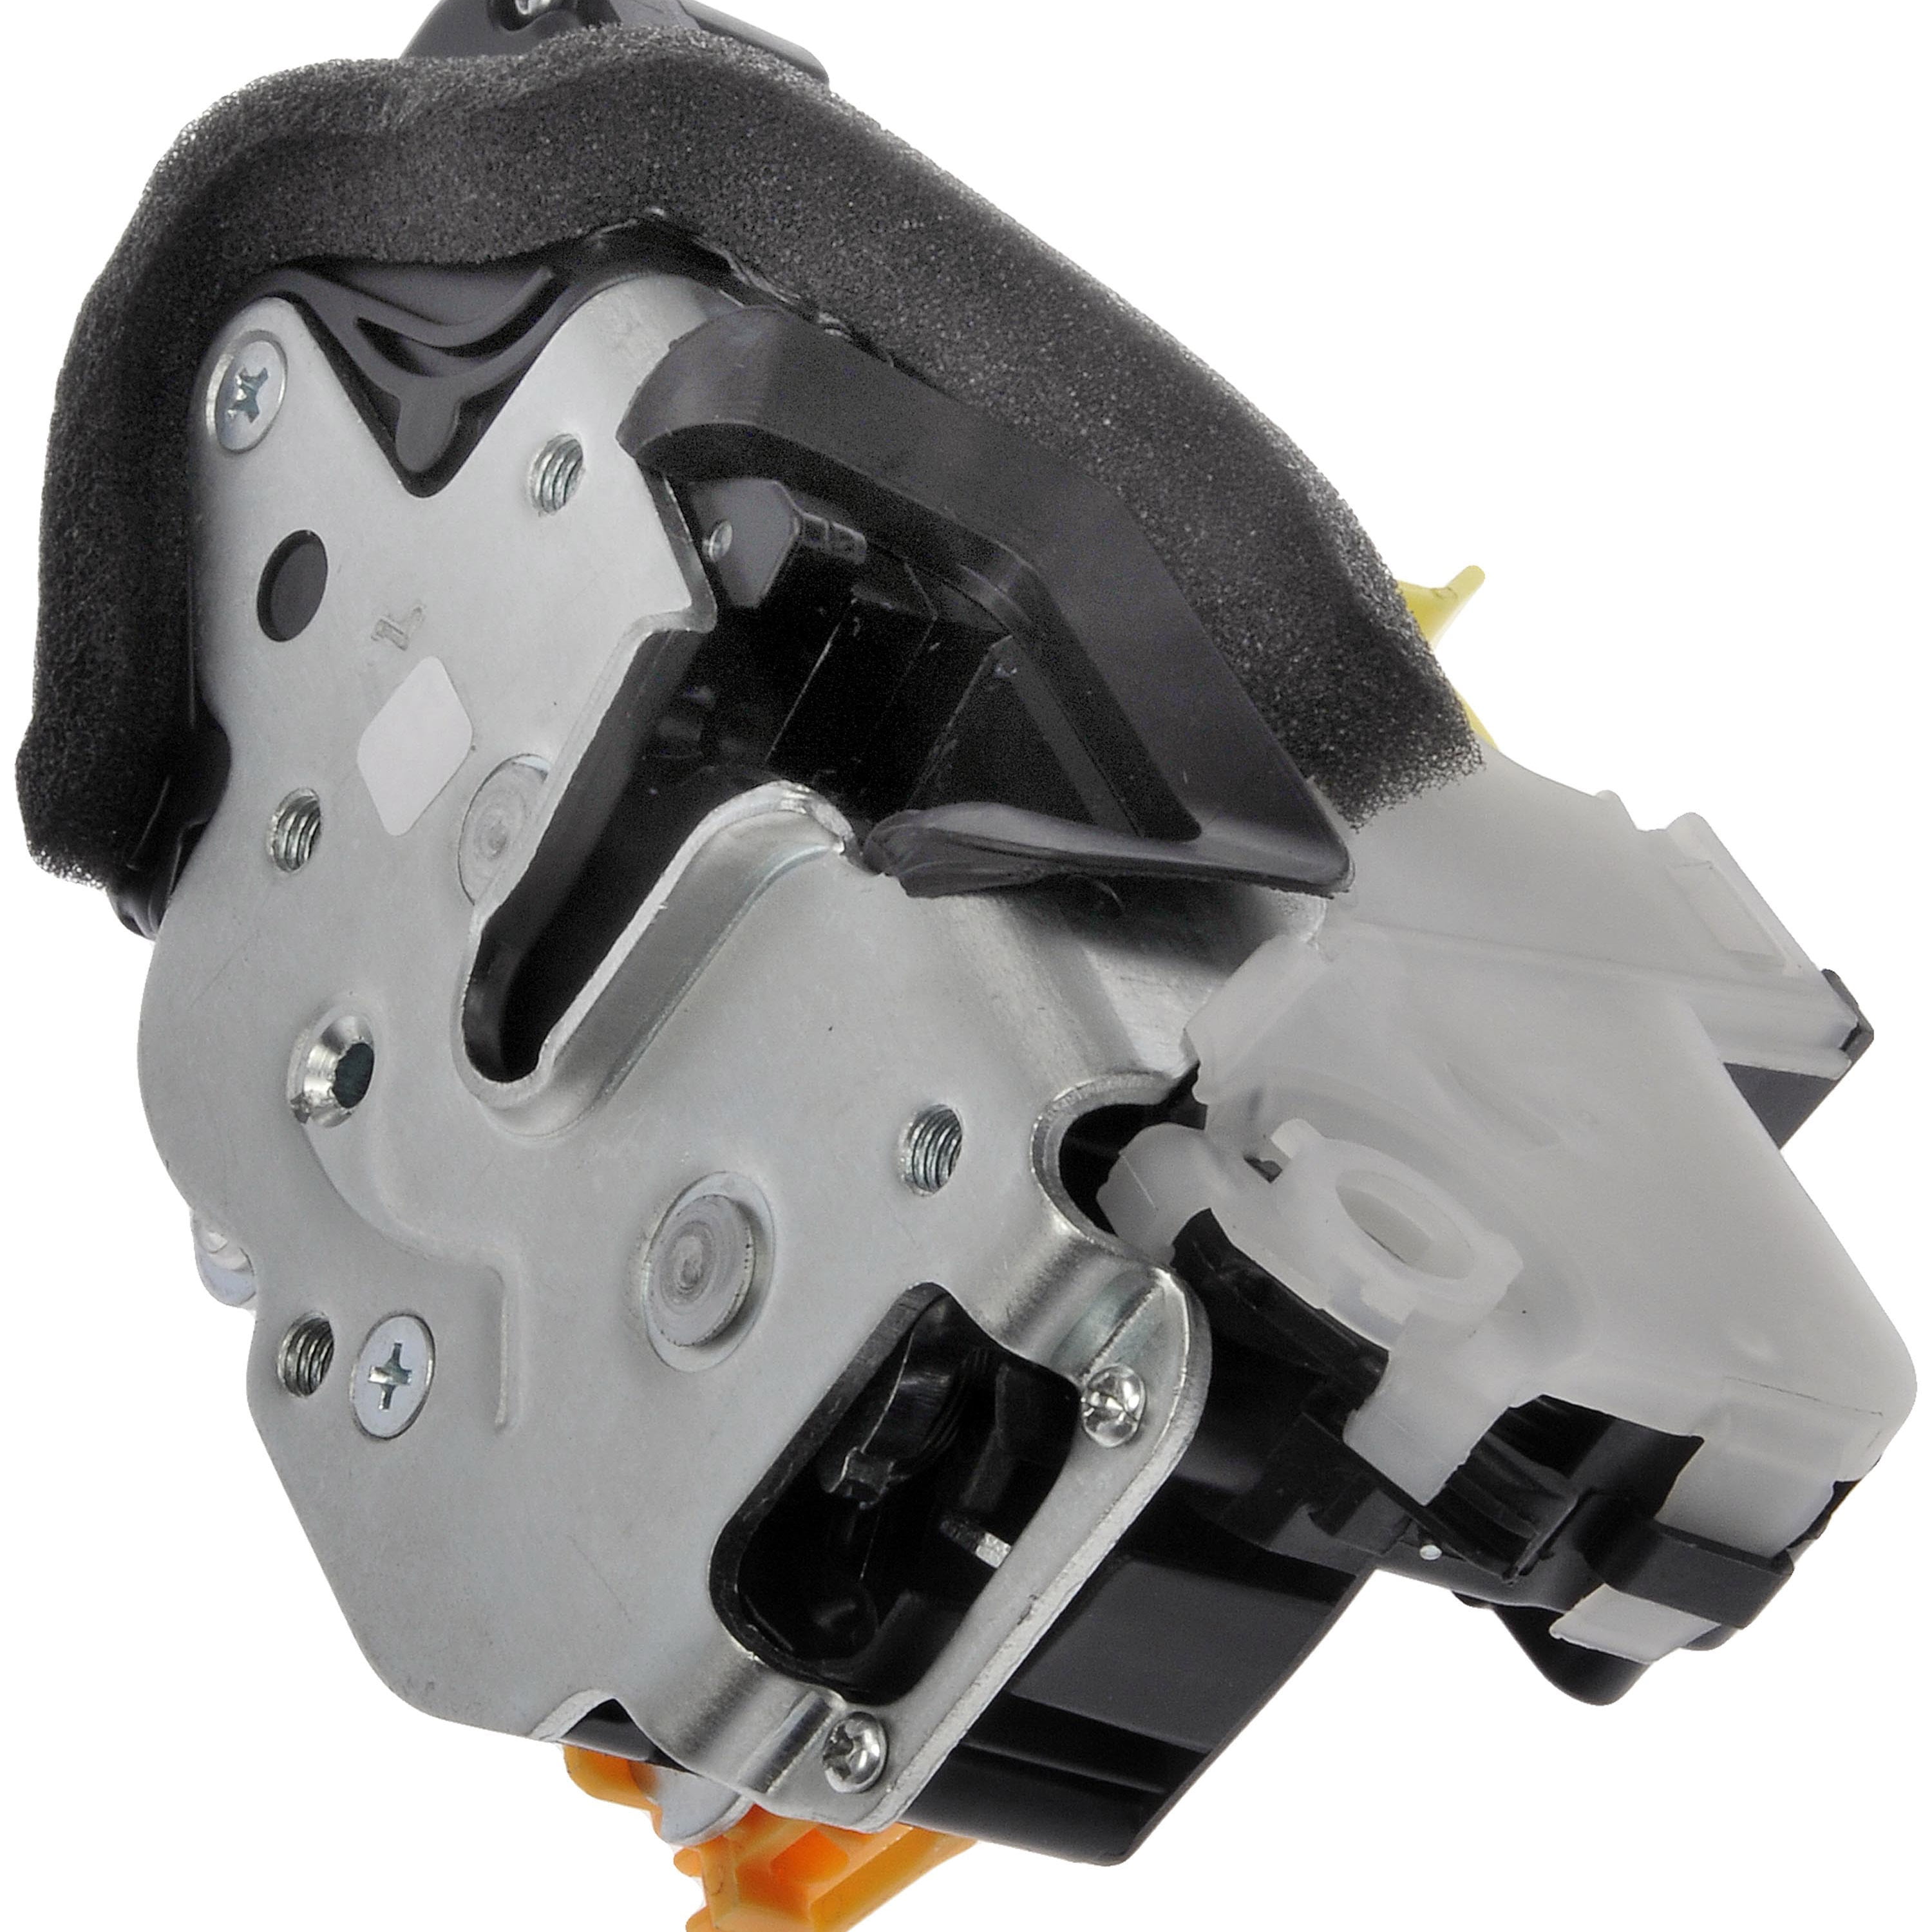
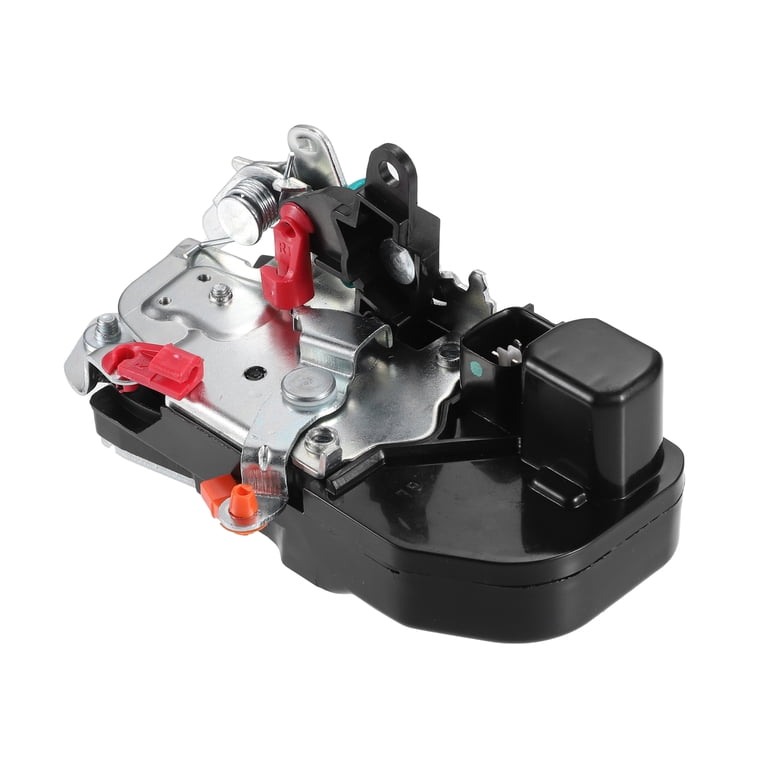
- Locate the actuator near the latch inside the door.
- Disconnect the wiring harness and unclip linkage rods.
- Remove mounting screws or bolts and extract the actuator.
- Inspect the actuator
- Open the actuator casing if you plan to rebuild.
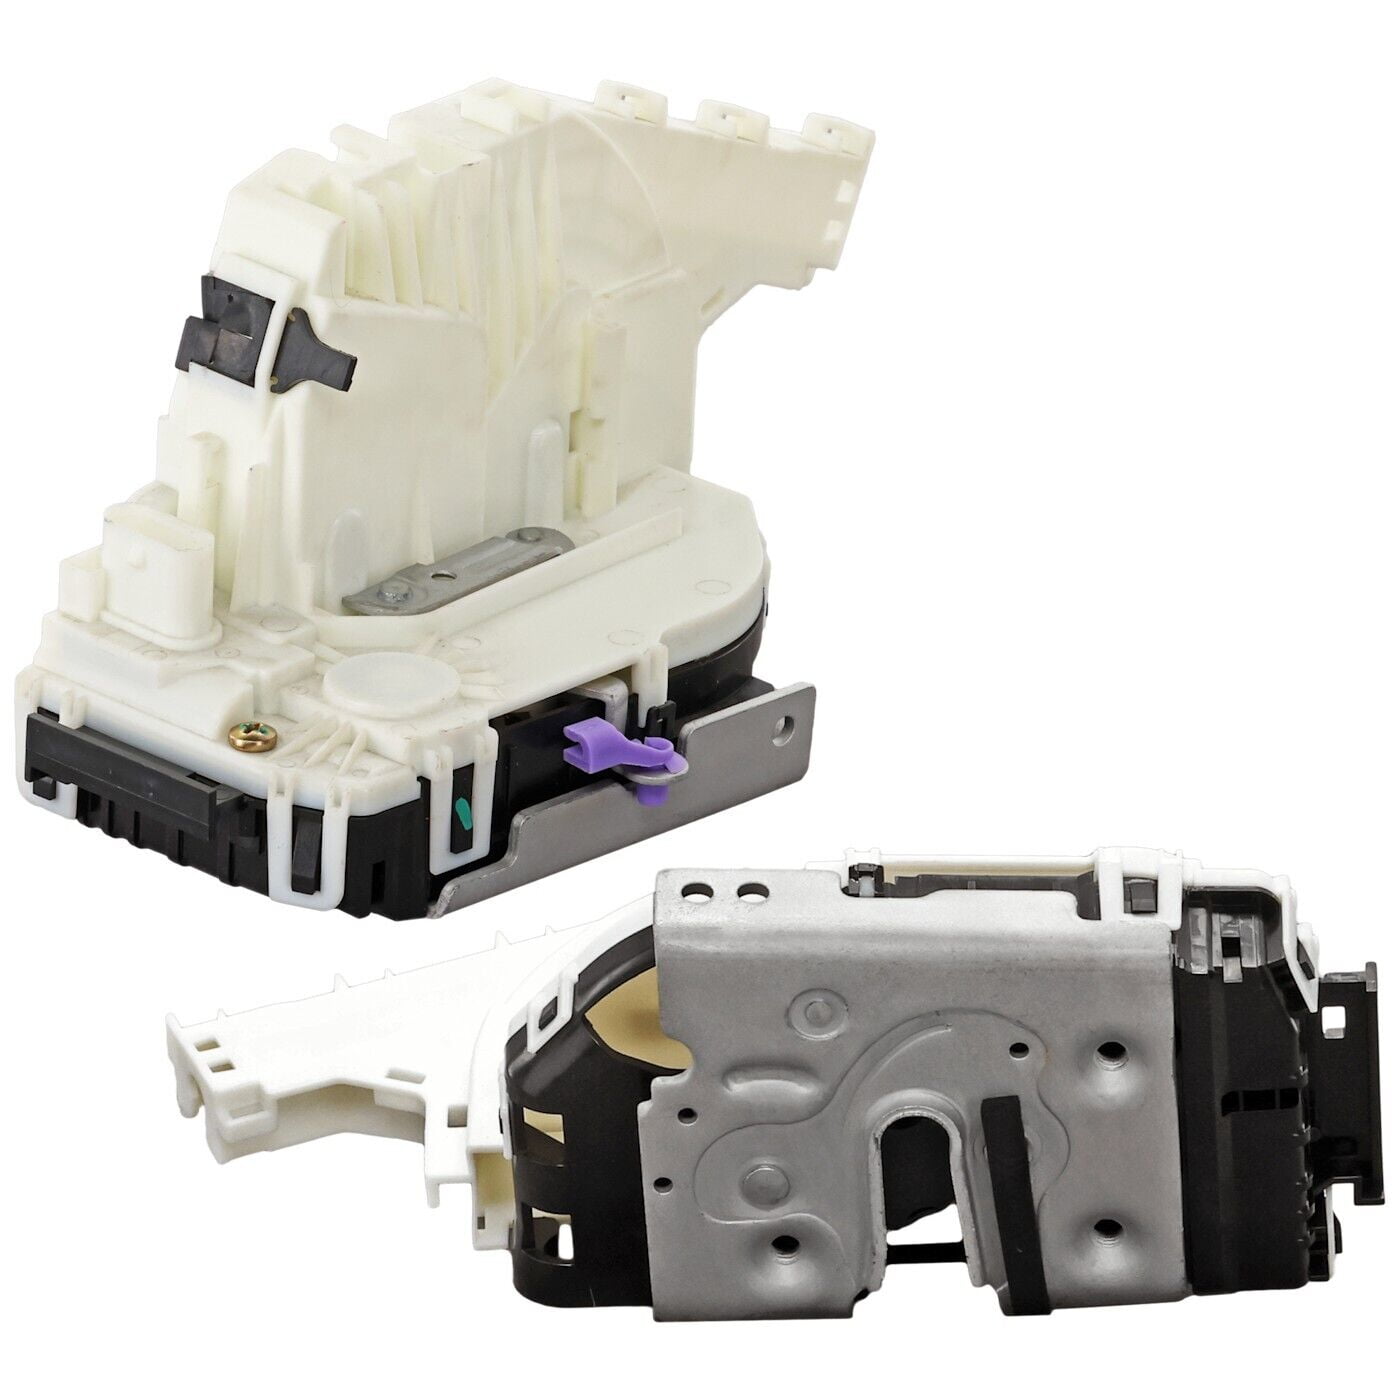
- Check gears, motor brushes, and worm gear for wear.
- Look for water damage, broken plastic, and burnt motor smell.
- Repair options
– Clean and grease: Remove debris and old grease. Add a light, waterproof grease to moving parts.
- Replace small gears: If plastic gears are broken, swap them using a rebuild kit.
- Motor rebuild: Replace worn brushes or lubricate motor bearings if accessible.
- Full replacement: If the motor is burnt or casing is cracked, replace the actuator.
- Reinstall and test
- Reconnect linkage and wiring before reattaching the panel.
- Test lock function with the door open.
- Only then reattach the door panel.
This hands-on method teaches how to repair jeep door lock actuator units safely. From my shop, cleaning and replacing a broken gear fixed many older Jeeps. On some late-model Jeep units, plastic gears are sealed. In those cases, full replacement is faster and more reliable.
Common questions while working
Why is the actuator humming but not moving?
- Humming usually means the motor has power but the gear train is stripped or jammed. Open the unit and inspect gears.
Can I repair a water-damaged actuator?
- Minor water damage can be cleaned and dried, then lubricated. Severe corrosion to the motor or contacts often requires replacement.
How do I know if wiring is the issue?
- Use a multimeter to check for 12V at the connector when pressing the lock/unlock switch. No voltage means a wiring, relay, or switch issue.
Reassembly, testing, and calibration
Reassembly must be methodical. Test before sealing the door.
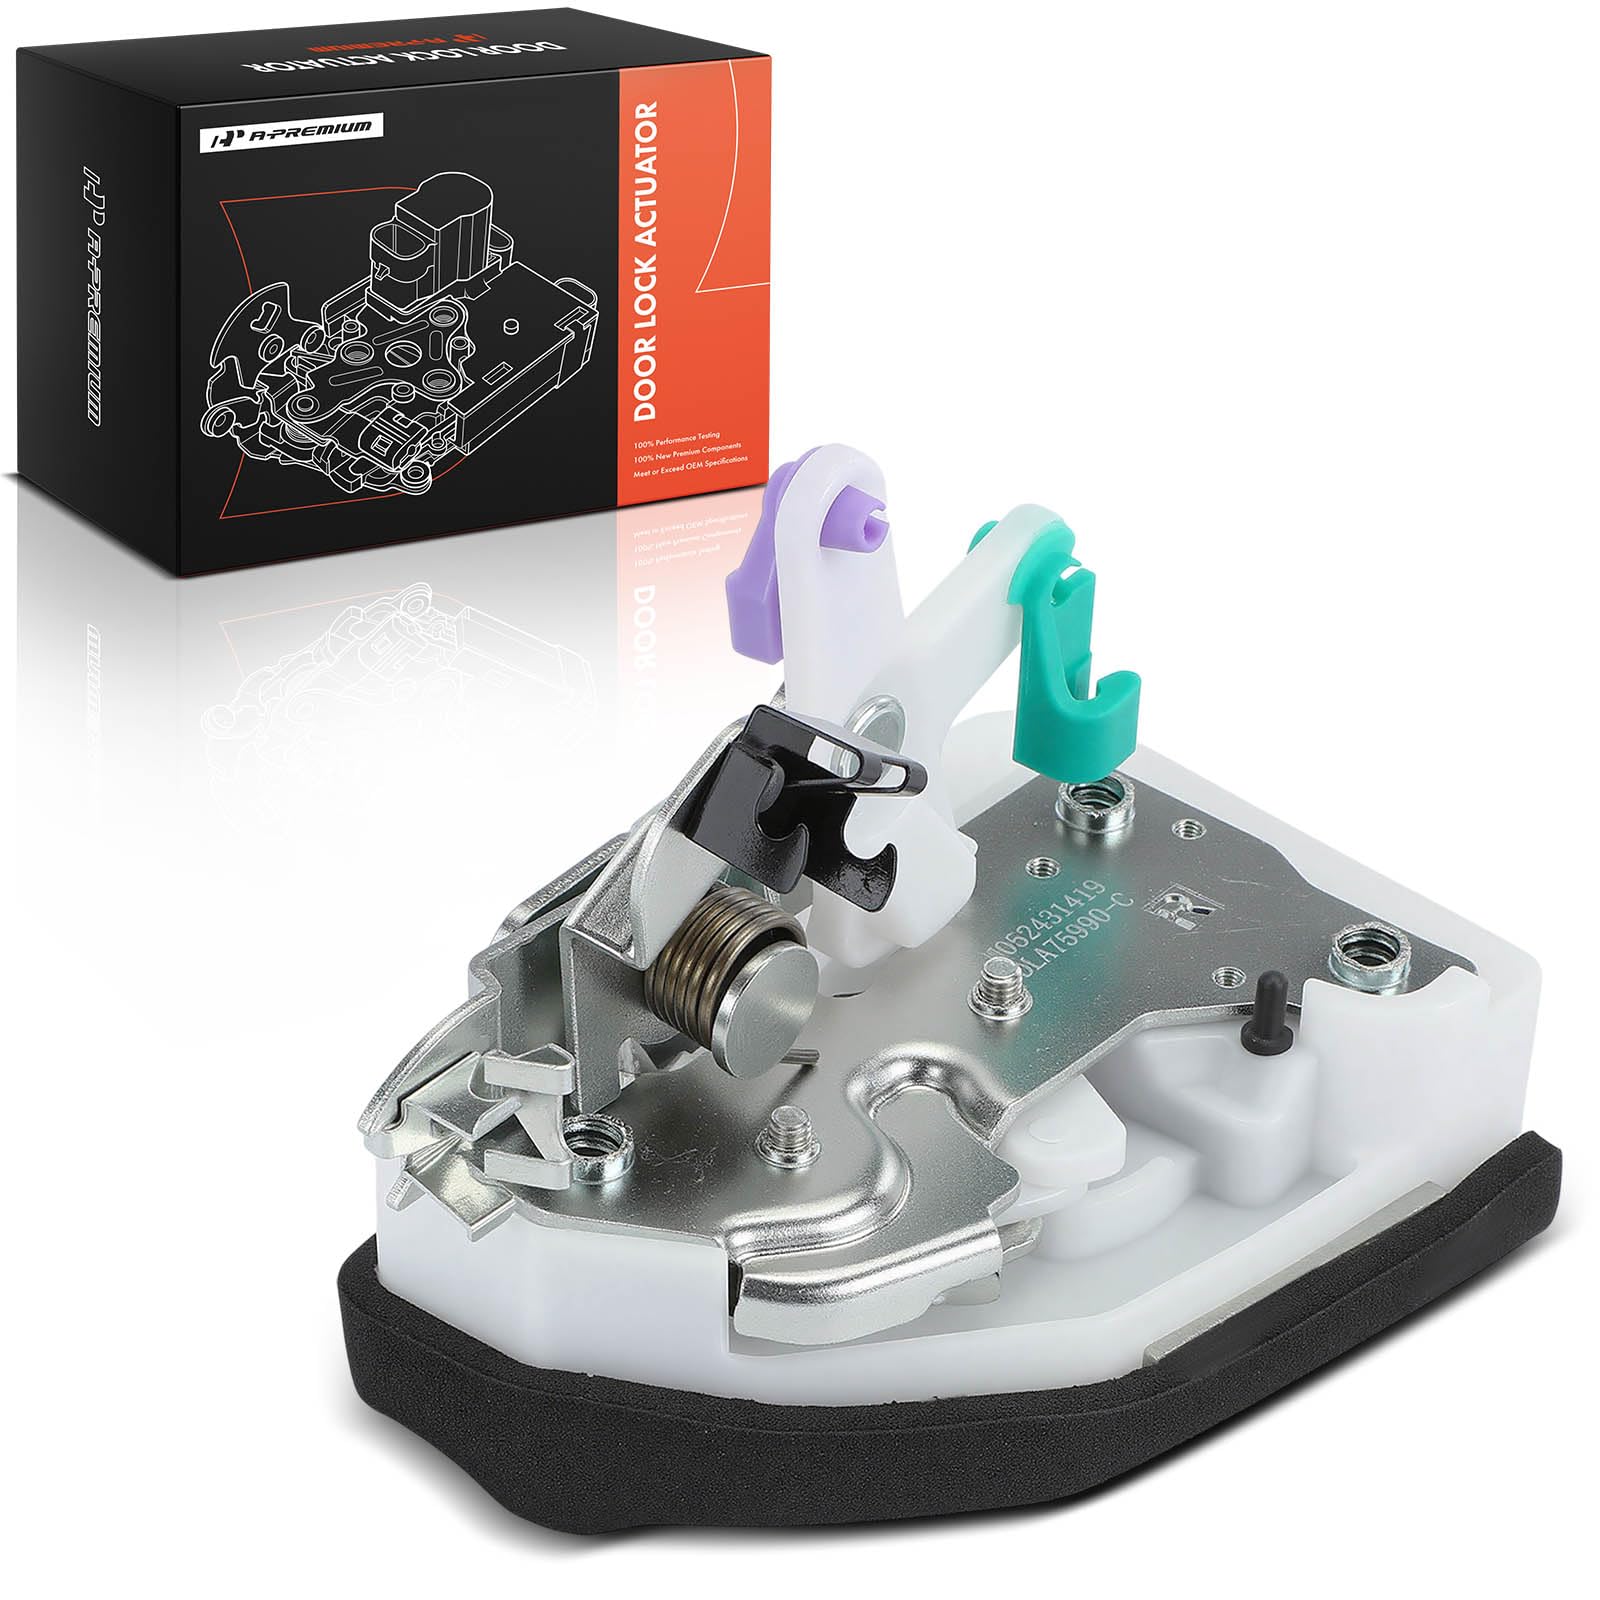
- Reconnect the actuator wiring and linkage.
- Operate the lock to confirm smooth travel.
- If the lock sticks, adjust the rod position and clip placement.
- Reinstall the moisture barrier and door panel.
- Test all doors, the key fob, and the interior switch.
- Cycle the locks several times to ensure normal operation.
After repair, monitor the door for a few days. Listen for odd sounds. If issues return quickly, you may need a new actuator or deeper electrical diagnosis.
Costs and when to replace instead of repair
Decide repair vs replace by cost and time.
- Rebuild cost: Low if you have a kit or spare parts. Labor is higher if you are not DIY.
- Replacement cost: Often $50–$200 for part, plus labor. Luxury or late-model parts cost more.
- Replace when the motor is burned, casing cracked, or gears are sealed and broken.
- Repair when small gears or linkages are damaged and the motor runs.
From experience, repair saves money on older Jeeps. Newer models often benefit from full replacement for long-term peace of mind.

Maintenance and prevention tips
Small habits extend actuator life. Use these tips.
- Keep door seals healthy to prevent water entry.
- Lubricate linkage points annually with a light grease.
- Avoid slamming doors hard; shock can stress gears.
- Check electrical connectors for corrosion during service.
- Replace worn clips and rods promptly.
These habits reduce the chance you will need how to repair jeep door lock actuator work in the future.
Frequently Asked Questions of how to repair jeep door lock actuator
What are the first signs an actuator is failing?
You may hear irregular noises, a slow lock, or no response from the door. The issue may show only on one door or affect all doors depending on the cause.
Can I test the actuator without removing the door panel?
You can test for power at the door connector with a multimeter. Full inspection and repair usually require panel removal.
Is actuator repair a safe DIY job?
Yes, with basic tools and care. Work slowly, disconnect the battery if unsure, and follow safety steps to avoid damage.
How long does a repair or replacement take?
A DIY replacement often takes 1 to 2 hours per door. A rebuild can take longer, depending on skill and part access.
Will fixing one actuator fix remote or central lock problems?
If only one actuator fails, fixing it should restore that door. If multiple doors fail, check fuses, relays, and wiring before replacing actuators.
Conclusion
You can reliably learn how to repair jeep door lock actuator issues with the right steps. Start with clear diagnosis, use proper tools, and choose rebuild or replace based on damage and cost. My shop experience shows that careful cleaning and small part swaps often restore function. Take your time, test thoroughly, and keep door seals in good shape to avoid repeats. Try one repair, share your result, or ask a question below — and consider subscribing for more Jeep DIY guides.