Remove the driveshaft, press out the old U-joints, fit new ones, grease, and torque to spec.
I have replaced dozens of U-joints on Jeeps over the years. This guide shows clear, practical steps on how to replace jeep u joints. I explain tools, safety, step-by-step repair, greasing, and troubleshooting. Read on and you will gain the confidence to do the job safely and correctly.

Why and when to replace Jeep U joints
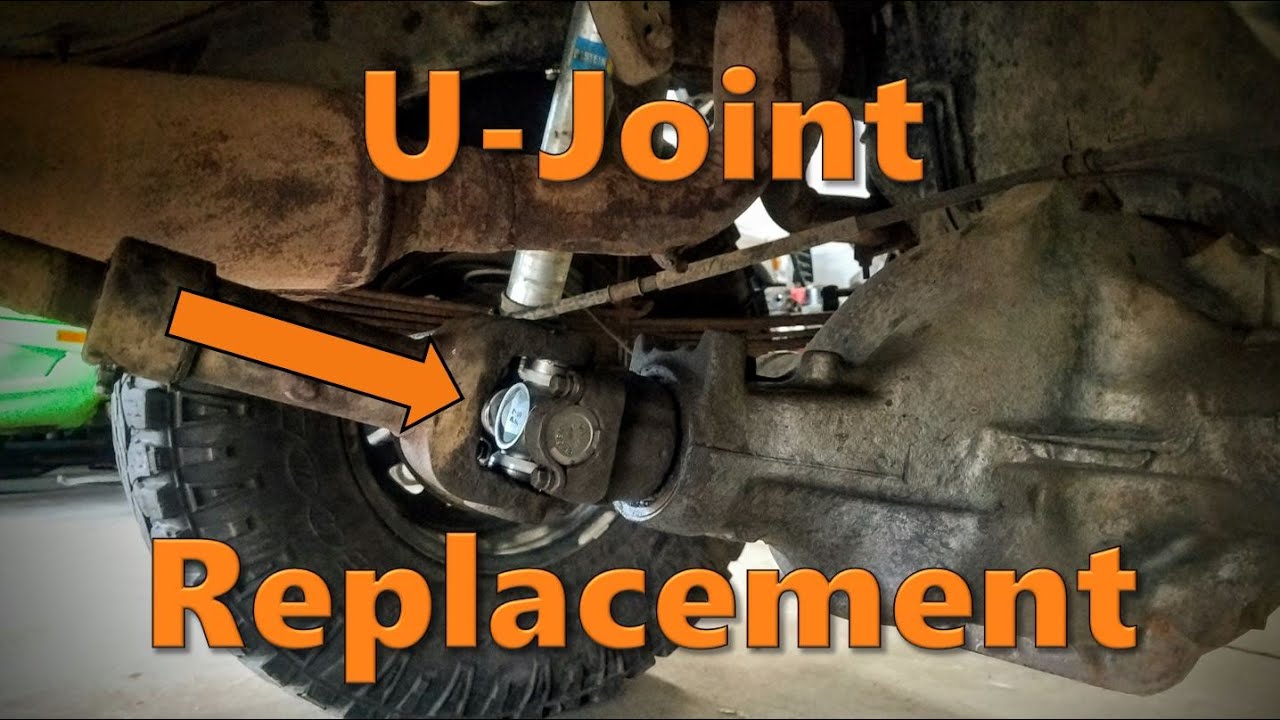
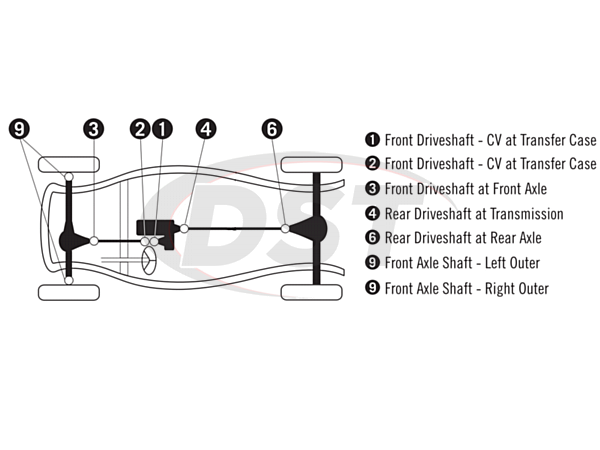
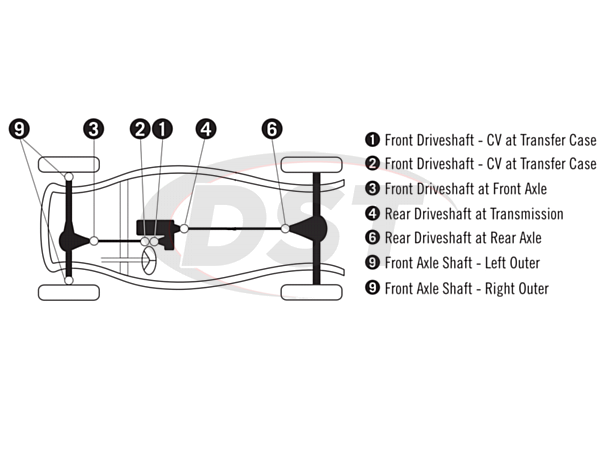
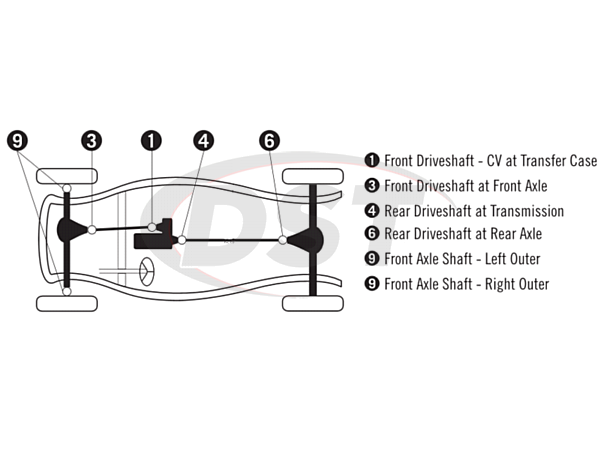
U-joints link the driveshaft to the axle and transmission. They let the shaft move as the suspension travels. Worn U-joints make clunks, vibrations, or driveline shudder. Replacing them stops damage to the driveshaft and other parts.
Check U-joints if you hear clunks when shifting, feel vibration at speed, or see grease leaking from the caps. Also inspect them during regular service. Replacing them early saves money and time later.
Tools and parts needed to replace Jeep U joints
Prepare before you start. Gather the right parts and tools to avoid delays.
- Tools
- Socket set and ratchet for bolts.
- Wrenches for straps or flange bolts.
- Ball joint or U-joint press, or a sturdy bench vise and sockets.
- Hammer, punch, and snap ring pliers if needed.
- Torque wrench for final tightening.
- Grease gun for greasable U-joints.
- Jack and jack stands or a lift.
- Safety glasses and gloves.
- Parts and consumables
- Replacement U-joints that match your Jeep model.
- New straps or bolts if required.
- Fresh grease and rags.
- Thread locker if factory specifies it.
- Replacement driveshaft bolts if corroded.
Buying the correct U-joint saves hassles. Verify the year, model, and whether the joint is greasable. I always keep spare straps and snap rings in my toolbox.
Safety and preparation
Safety matters more than speed. Take time to prepare.
- Park on level ground. Set the parking brake.
- Chock the wheels. Use a jack and jack stands rated for your Jeep.
- Wear safety glasses and gloves.
- Support the driveshaft with a block before unbolting.
- Label the driveshaft orientation to maintain balance.
A loose or unsupported driveshaft can drop and injure. I learned to never trust only the jack. Always place stands and double-check support before working under the vehicle.
Step-by-step: How to replace Jeep U joints
Follow simple steps. Keep sentences short. Pause and check fit as you go.
1. Remove the driveshaft
- Loosen the driveshaft bolts at the differential flange.
- Mark the driveshaft flange and housing so you reinstall it the same way.
- Support the driveshaft and remove the bolts.
- Slide the driveshaft rearward and out of the transmission output if needed.
2. Remove the old U-joint
- Remove snap rings or straps that hold the U-joint caps.
- Use a U-joint press, bench vise, or sockets and hammer to press the caps out.
- Keep one cap partway in to help push the cross free.
- Remove the cross and remaining caps carefully. Inspect the yokes for wear.
3. Clean and inspect
1. Clean the yoke bores with a rag.
2. Check for oval bores, rust, or cracks.
3. Replace the driveshaft or yokes if they are damaged.
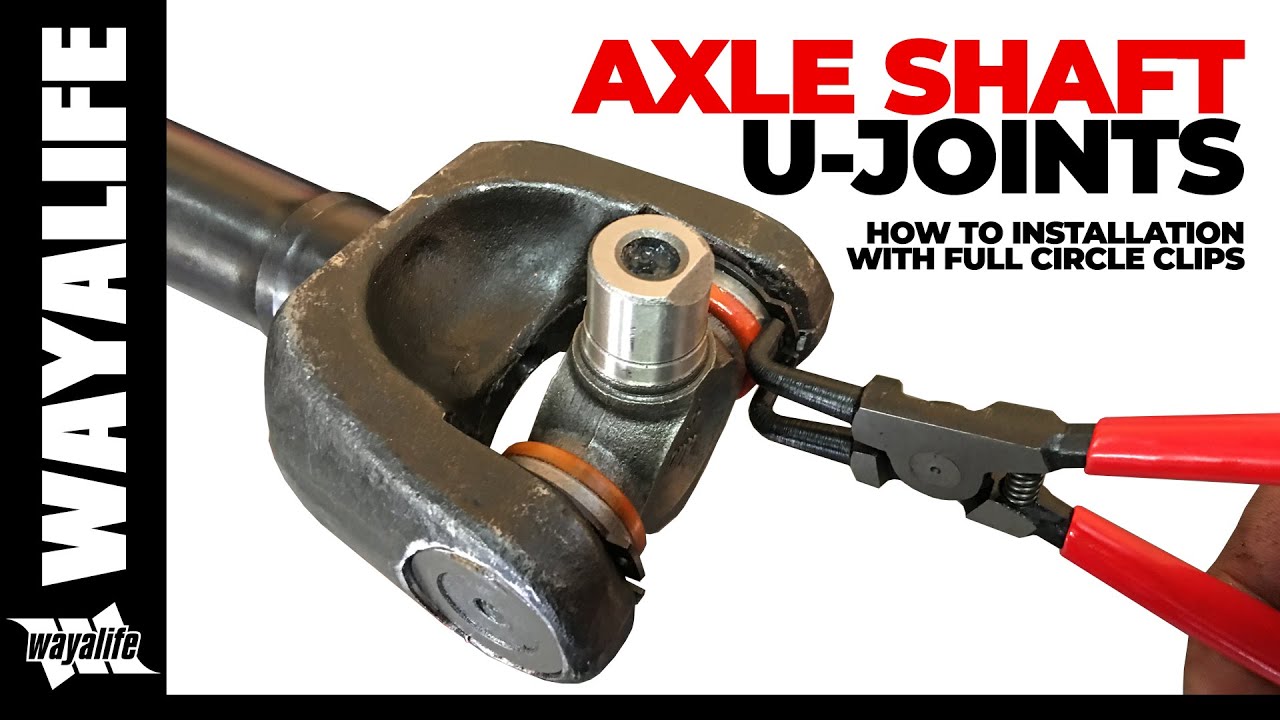
4. Install the new U-joint
- Place one cap into the yoke carefully.
- Insert the cross and align the second cap.
- Press the caps evenly into place until the snap ring grooves show.
- Install snap rings or secure straps. Check that the joint moves freely by hand.
5. Reinstall the driveshaft
- Align the marks made earlier.
- Fit the driveshaft to the flange.
- Tighten bolts finger tight, then torque to factory spec in a star pattern.
- Lower the Jeep and test drive gently.
A balanced driveshaft must return to the exact orientation. Never skip the marking step. I once misaligned a driveshaft and felt a vibration at 50 mph. Marking solved that.
Greasing, maintenance, and break-in
Proper grease extends U-joint life. Many U-joints are greasable. Some are sealed and do not need grease.
- For greasable U-joints
- Pump grease until you see fresh grease at the seals.
- Wipe away excess grease.
- Grease at first 100 miles, then with routine service.
- For sealed U-joints
- Replace if they show play or rust.
- No greasing is required.
Maintenance tips
- Inspect U-joints every oil change.
- Listen for new noises after replacing joints.
- Re-torque flange bolts after a short break-in drive if manufacturer advises.
Grease prevents water intrusion and wear. I re-grease new joints after the first short drive to push out any trapped air and seat the seals.
Common problems and troubleshooting when you replace Jeep U joints
Here are issues you may see and how to fix them.
- Joint binds when installed
- Recheck cap alignment and snap ring seating. Remove and re-press if needed.
- Persistent vibration after replacement
- Confirm driveshaft orientation marks. Check for bent yokes or unbalanced shaft.
- Leaking grease or rust on yoke
- Replace or clean and protect. Corrosion can cause early failure.
- Bolts that won’t come free
- Apply penetrating oil and let sit. Use correct sockets and breaker bar.
PAA-style questions
Q: How long does it take to replace Jeep U joints?
A: A professional can do it in 1 to 2 hours for one joint pair. A DIYer should plan 2 to 4 hours.
Q: Can you drive with a bad U-joint?
A: Short distances may be possible, but it risks driveshaft separation. Move the vehicle only to a safe repair spot.
Frequently Asked Questions of how to replace jeep u joints
What is the main sign a U-joint needs replacement?
A worn U-joint often makes clunks when shifting or a vibration at speed. Visual grease loss or play in the joint also indicates failure.
Do I need special tools to replace Jeep U joints?
A bench vise or U-joint press makes the job much easier. You can use sockets and a hammer, but a press reduces the risk of damage.
Should I replace both U-joints at once?
If one U-joint is worn, inspect the other. Replacing both is good practice on older Jeeps to keep balance and prevent repeat work.
How tight should driveshaft bolts be after installing U-joints?
Torque to the factory specification found in the service manual. Use a torque wrench and torque bolts in the correct pattern.
Can I reuse old snap rings or straps?
Always use new snap rings or straps if the old ones are bent, corroded, or worn. They are inexpensive and critical for safety.
Conclusion
Replacing U-joints on a Jeep is a straightforward job when you have the right tools and a clear plan. Check parts, follow the steps, and take safety seriously. If you run into problems, stop and assess rather than force parts. Take this as a nudge to inspect your drivetrain, keep a maintenance log, and fix small issues early. If you found this guide helpful, try one U-joint replacement and leave a note about your experience or questions below.